Raisely is an online fundraising platform for ambitious charities across the world. We empower thousands of charities across the world to take control of their revenue and improve the wellbeing of people and our planet.
During our webinar on Live Streaming for Fundraisers we got a couple of questions about using overlays in Zoom, so here's a guide on setting that up.
This article is a follow on to that webinar, so you might want to grab the resources that go with it. (Don’t worry if you haven’t seen the webinar, you can just follow the instructions here)
I’m going to be using CamTwist, which creates a “virtual webcam” that you can then use as your video input in Zoom. You could also use CamTwist with most other video conferencing/calling software that make use of a webcam.
Before we start, I should flag a couple of limitations with this approach:
- Your overlays become part of your “camera”: they’ll only be visible when you are speaking and have the focus, when others speak, the overlays will disappear
- CamTwist is only for Mac
If you’re on Windows, OBS (the software we used in the livestream webinar) has a plugin called OBS-Webcam that you can use to pipe your OBS feed into Zoom, or you could search for “Windows Virtual Webcam” to find something that might be similar to CamTwist.
One more thing before we start. Remember to press save! CamTwist is a throwback to those heady days when blackouts meant hours of lost work if you forgot to press save. CamTwist won’t warn you before quitting and it will not remember your settings. You have to save them, and then load them when you next open CamTwist. You might want to get comfortable with saving before you get started and once you’ve got CamTwist set up, make sure you can reload it confidently.
Static Image Overlays
Let’s start off with a static image. I’ll be using an overlay downloaded and cropped from a Google Slide.
In CamTwist, add your webcam, and then add an Image Overlay from the effects column.

There’s no button to load the image, you’ll need to drag your image into the Image setting.
You can see how it looks by pressing Cmd+P to open up a preview and see how it looks. You’ll probably need to pull the Scale control to resize the overlay and then position it.
To position the overlay you drag the little black dot in the Position control. To fine tune the position, click the Nudge button to display controls to nudge the overlay pixel by pixel.
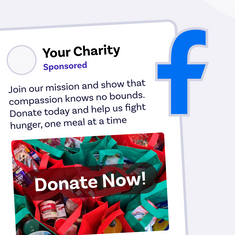
You could also use an image with transparency to get different shapes or even frames. For example, you could even get a Facebook profile frame like this one and apply that to your camera.
Dynamic Overlays
For dynamic overlays your options are a bit more limited. CamTwist doesn’t support loading in a webpage with a transparent background.
We’re going to work around that by cropping a web browser window. We’ll open up the Raisely demo campaign and overlay the donation feed.
We’ll open the demo campaign in a separate browser window (not a tab), and then select Desktop+ (note the plus), but instead of adding it, click PIP which is short for Picture-in-Picture.
In the Desktop+ settings, select the browser window that you want to display.
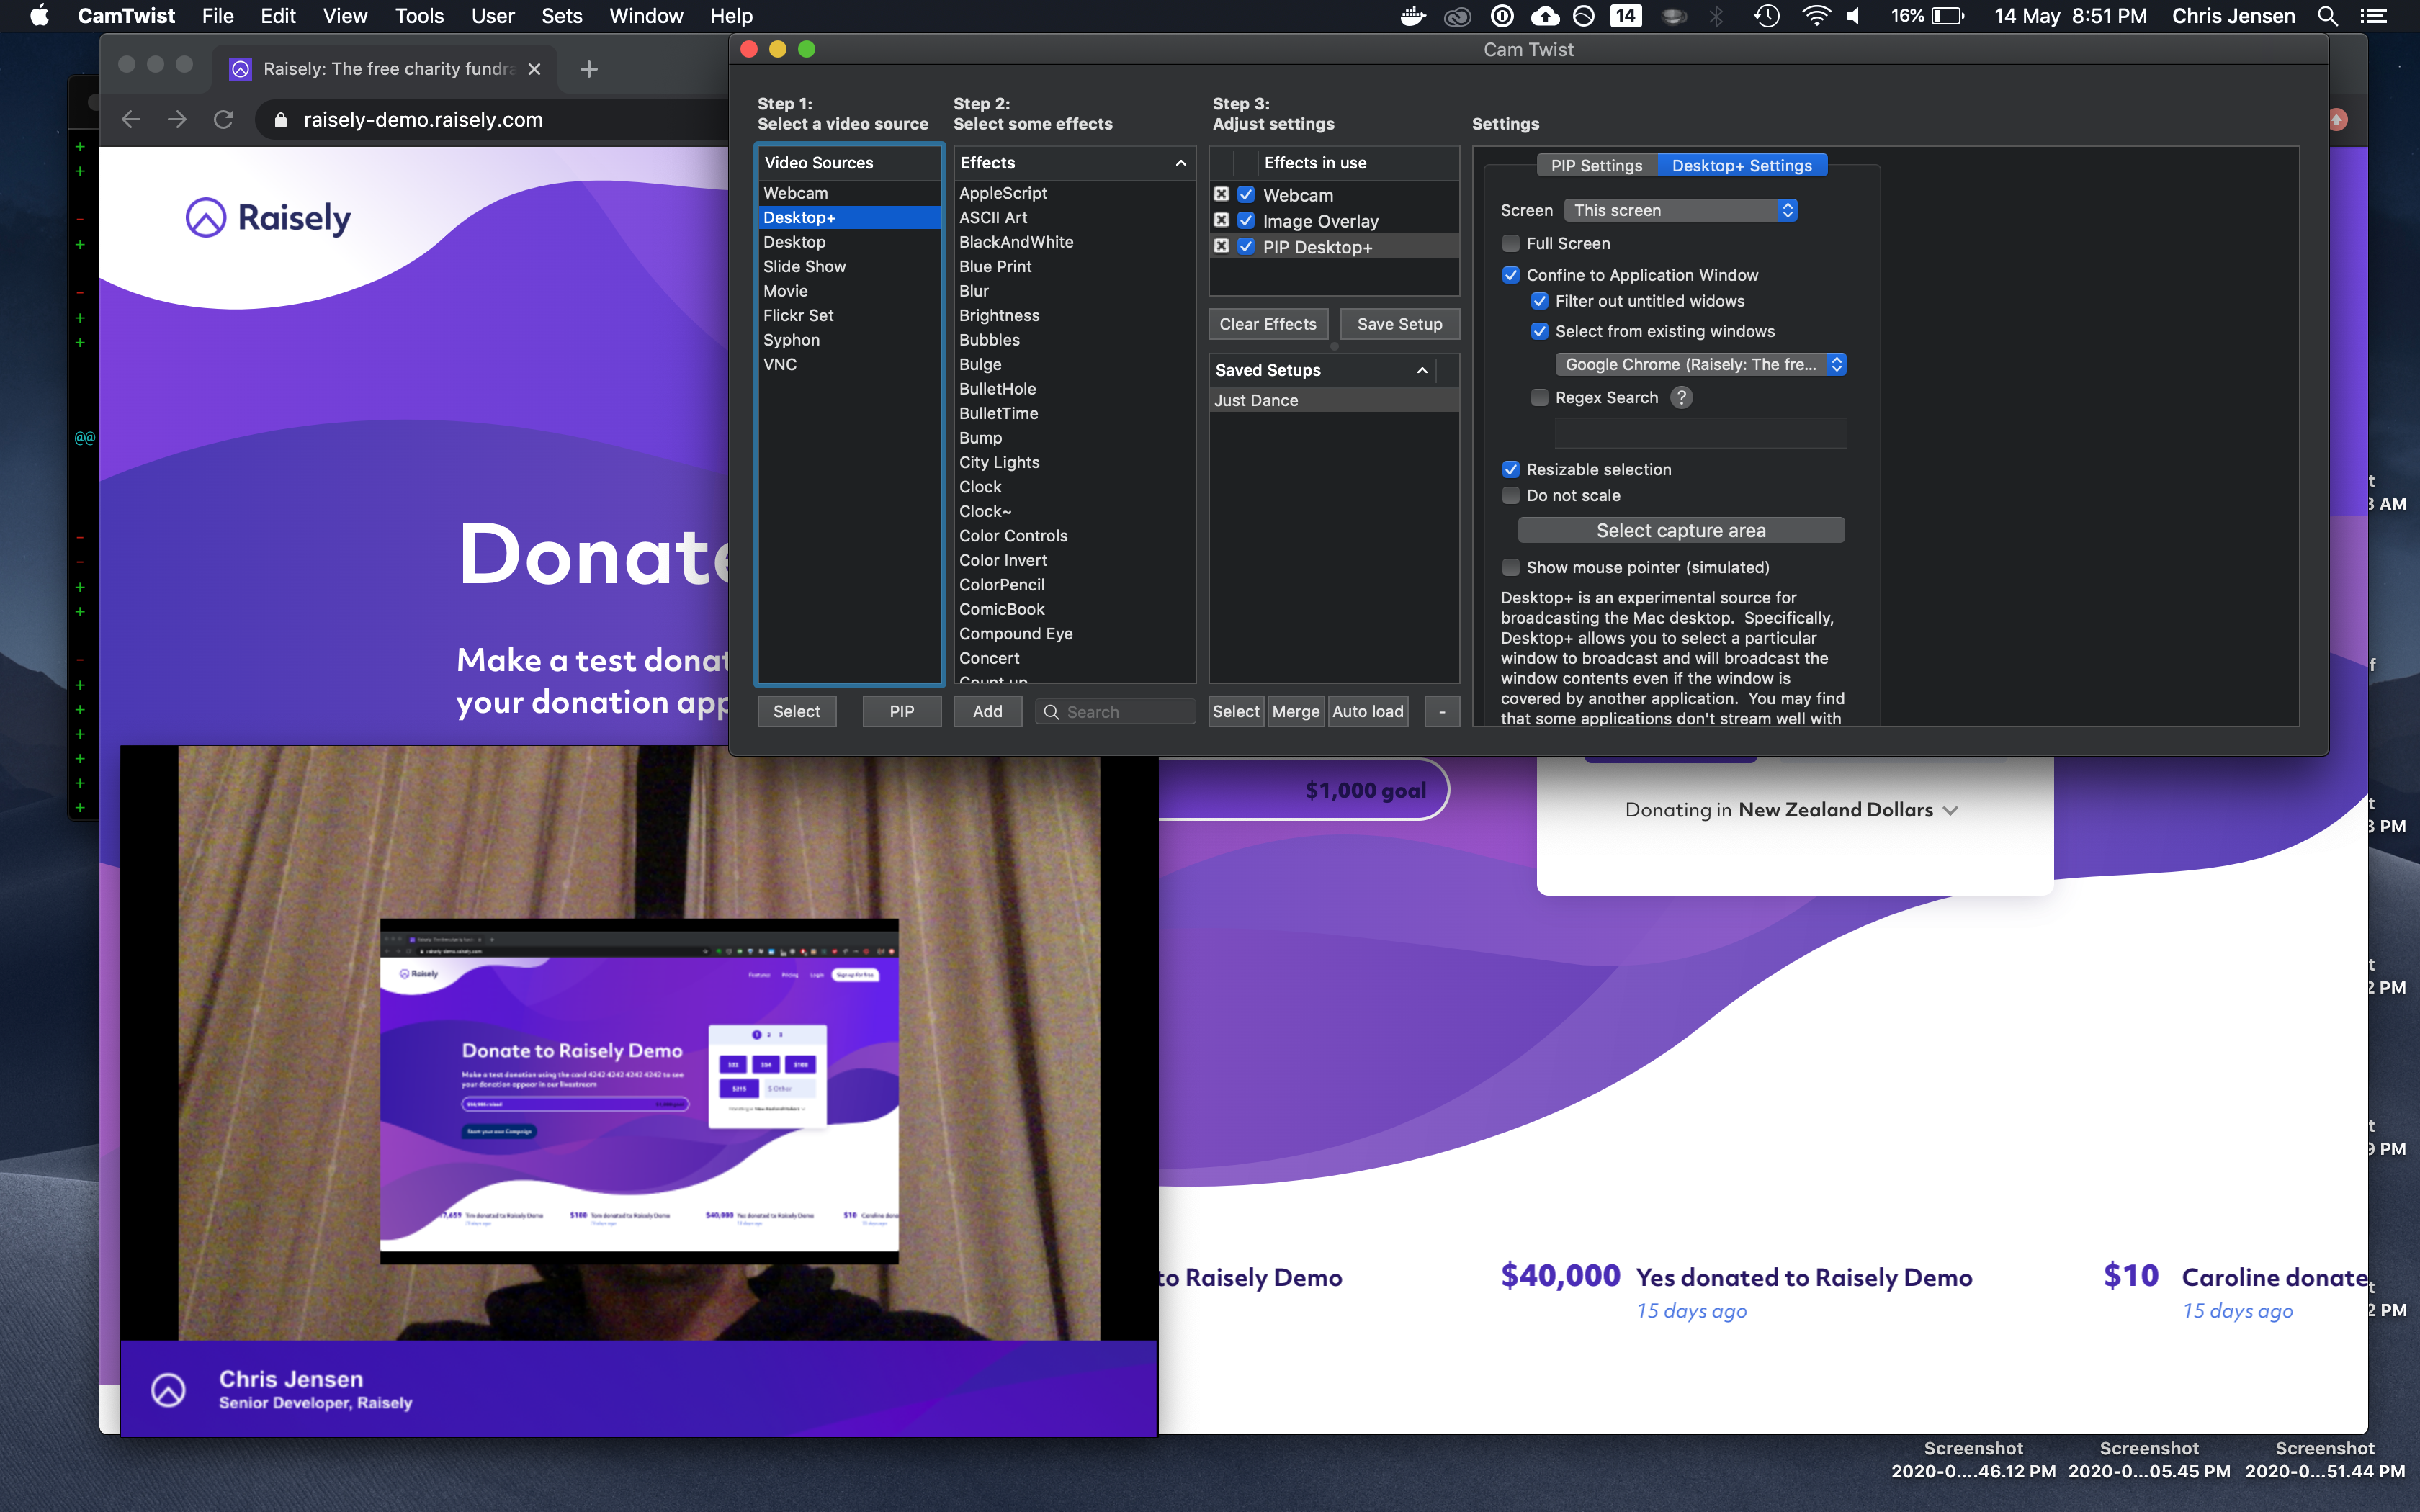
In the PIP Settings, crop and position the window to display just the portion you want.

That’s it, you’ll all set to use your virtual camera on Zoom.
A quick note on performance: if you have the option, capturing a whole display rather than a window will give you much better performance. The downside is that when you capture a window, it doesn’t matter if it’s in the background, but for capturing a display, you have to make sure the portion of the display being captured doesn’t have anything over the top of it. For that reason, I’d only go with this option if I had two displays and can leave one of the displays untouched during the call or webinar.
Testing it in Zoom
Let’s fire up a meeting in Zoom to test it. Once you’ve launched your meeting, click on the arrow beside video and choose CamTwist.
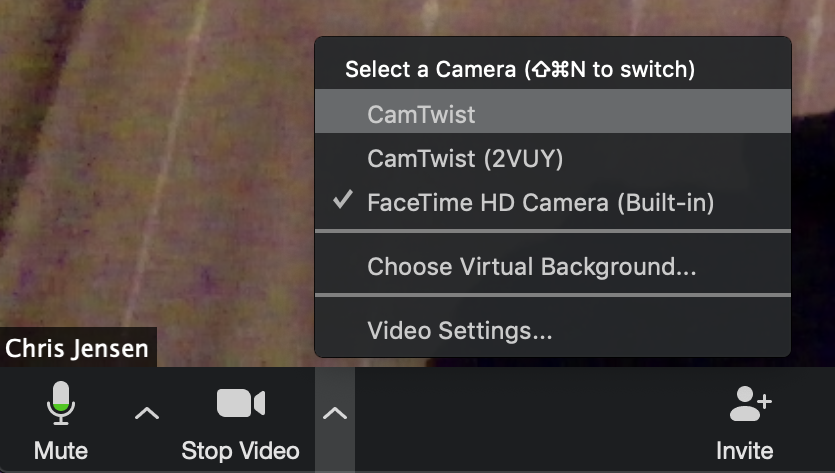
You should see your camera with overlays now, but you might see that it doesn’t quite fit properly in the window.
Before you go adjusting the settings, try connecting to the call with another device and check how it looks.
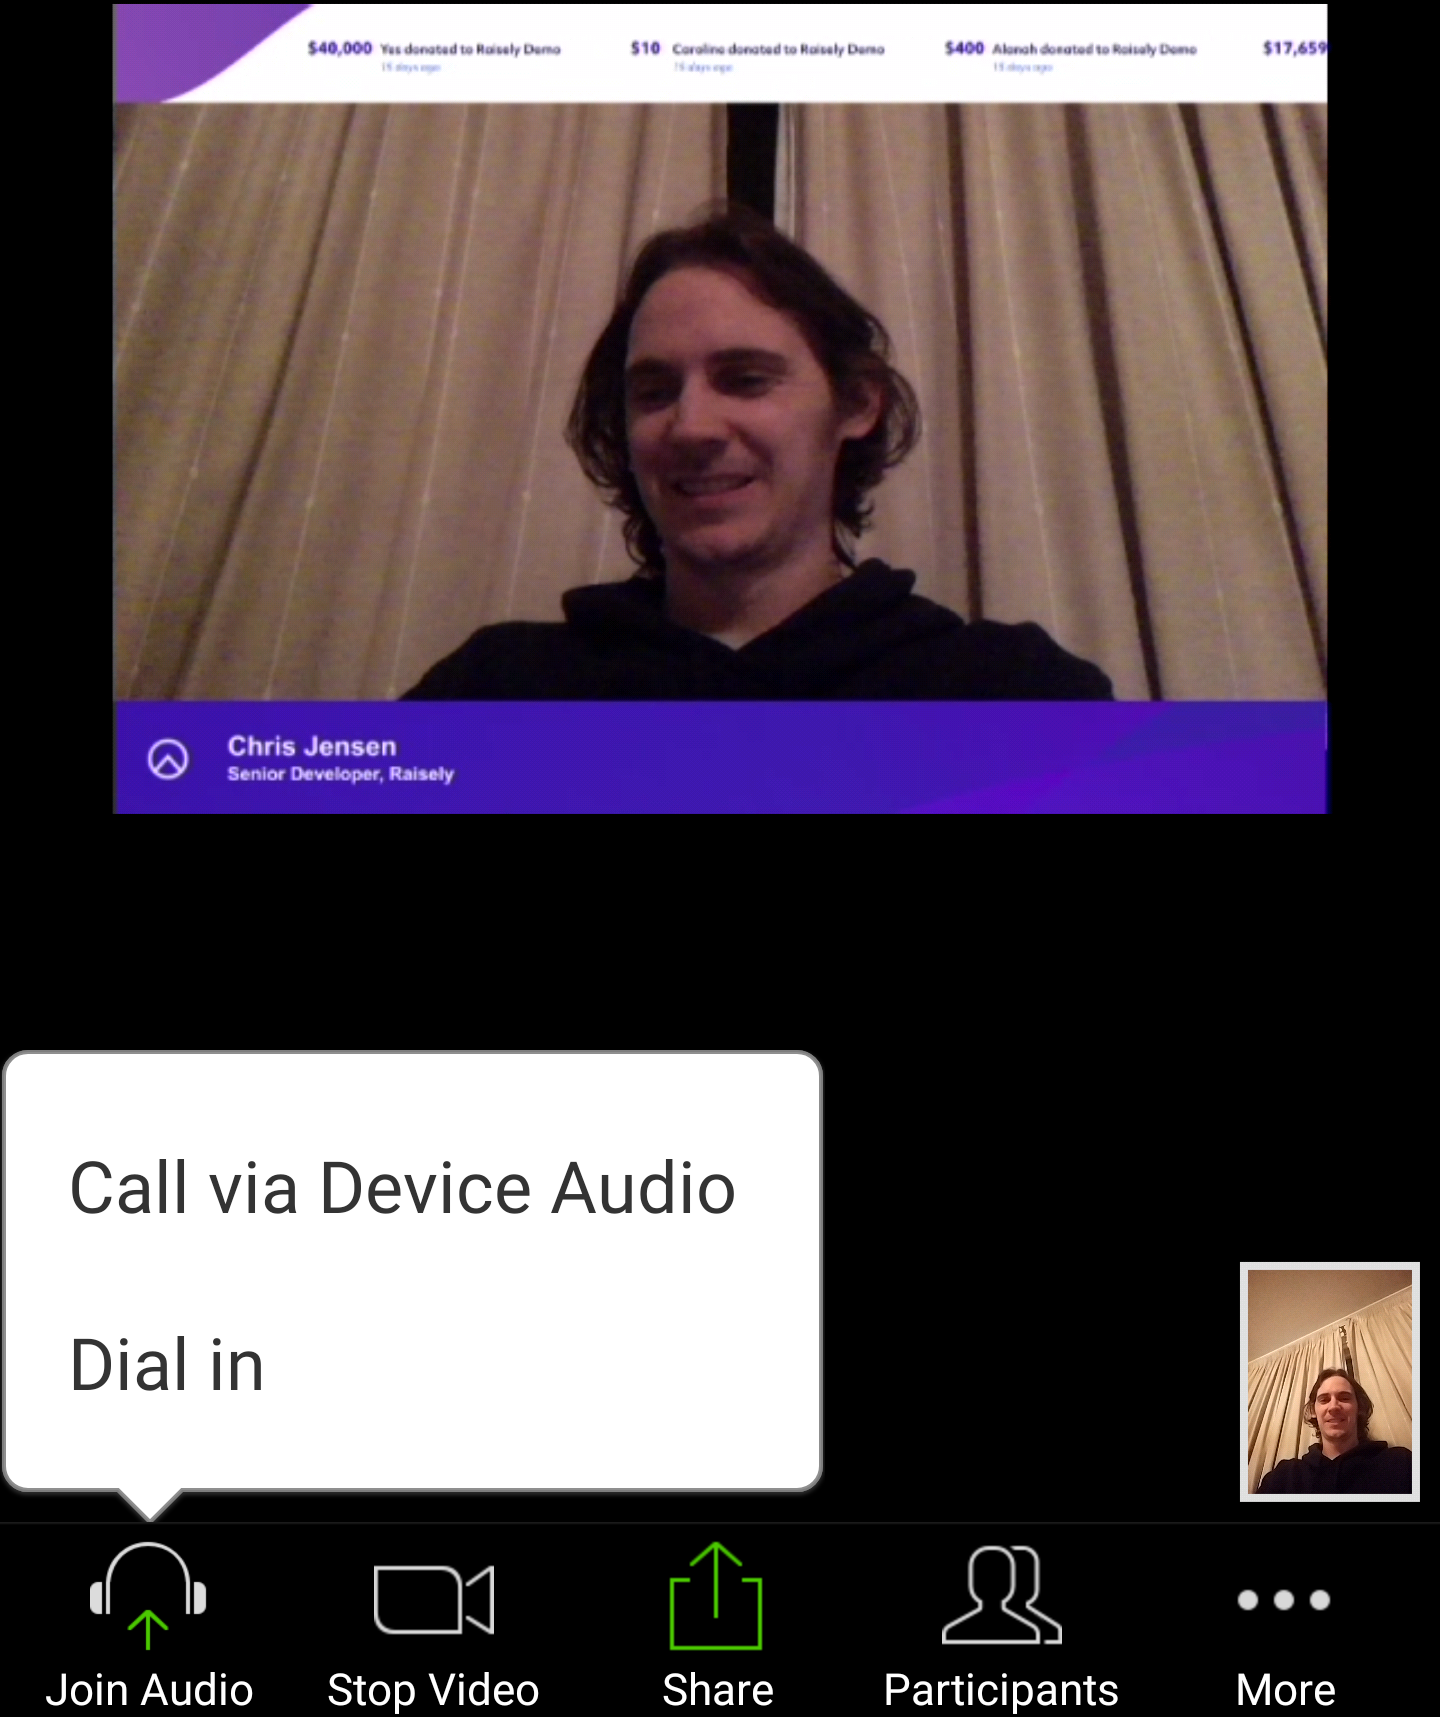
It looks fine! No need to adjust it. Good luck with your webinars and live streams! I can’t wait to see what creative ways you find to use this.
Stay in the loop. Delivered to your inbox twice a month.

Technical Lead at Raisely